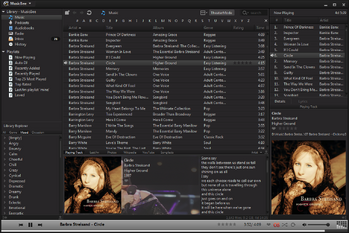
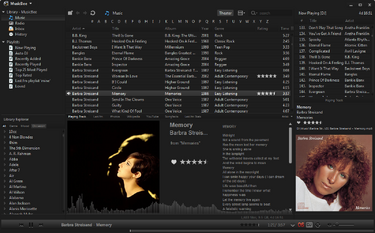
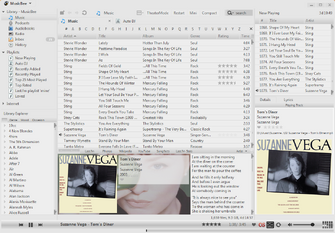
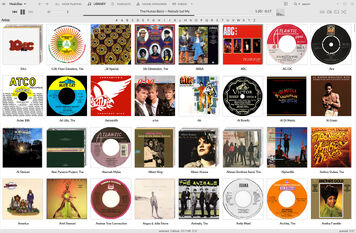
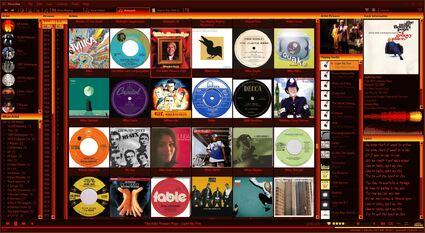
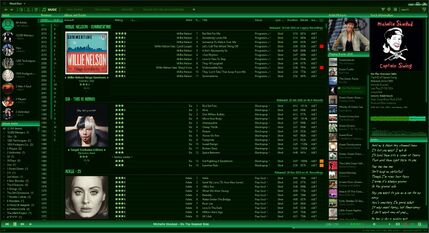
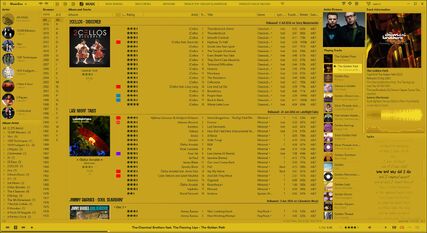
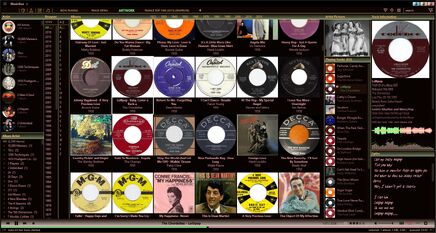
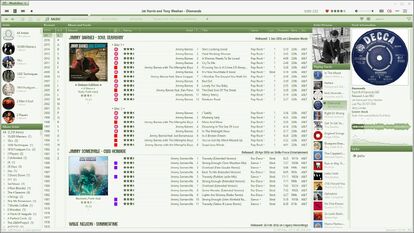
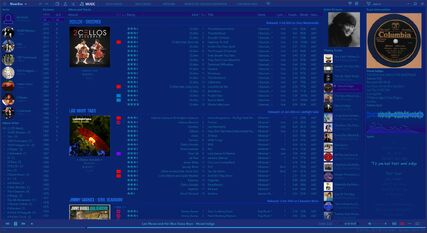
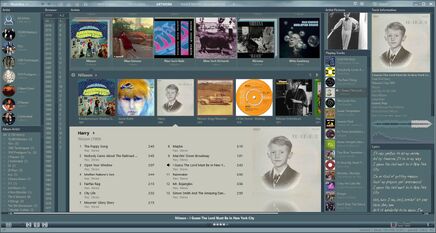
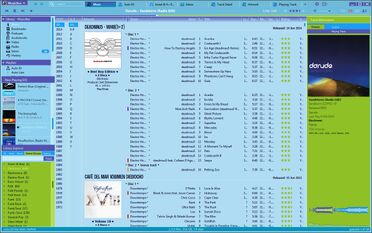
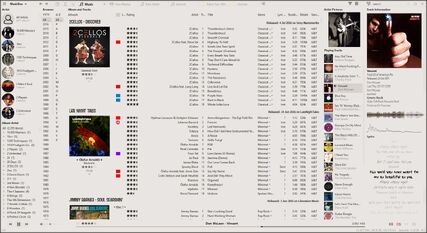
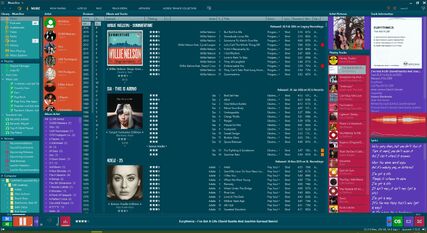
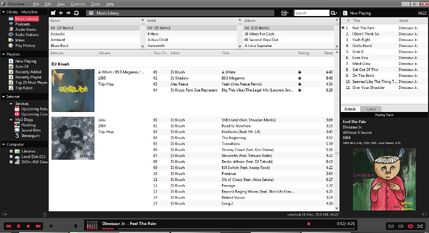
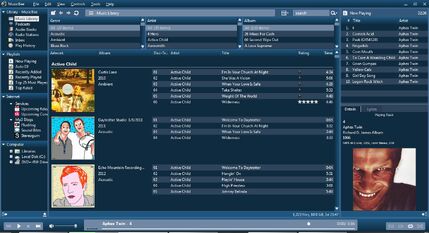
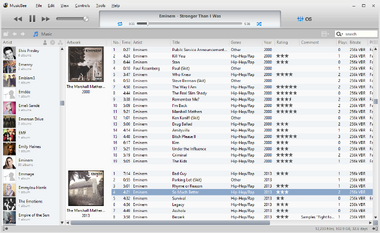
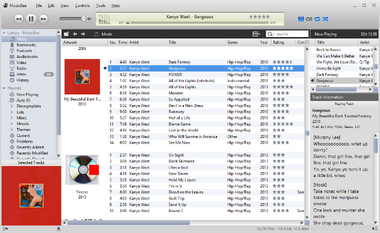
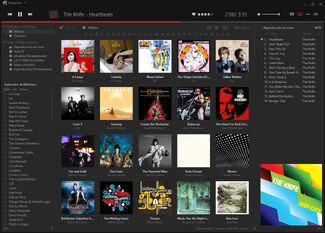
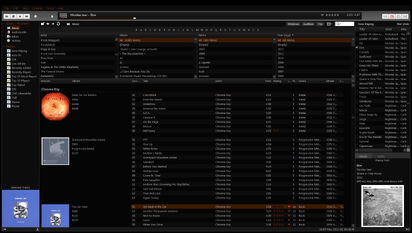
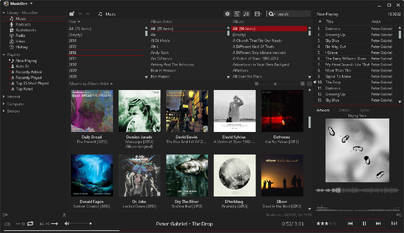
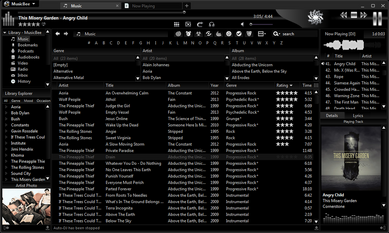
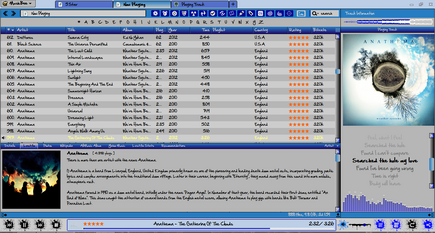
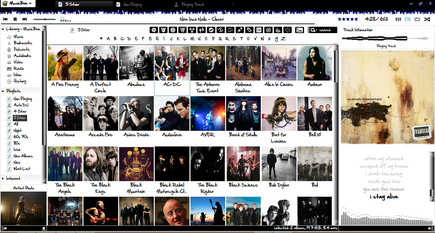
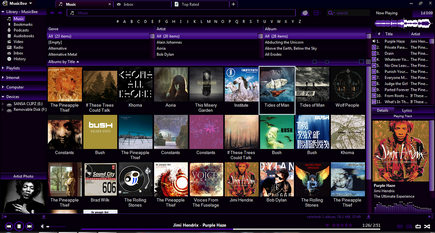
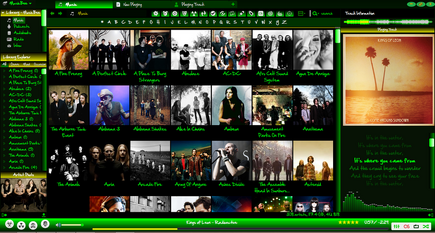
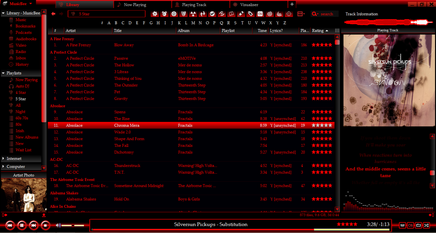
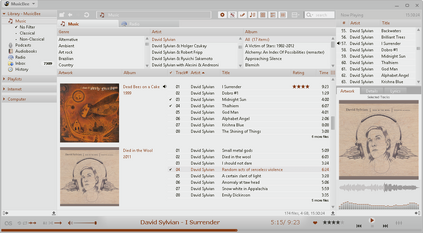
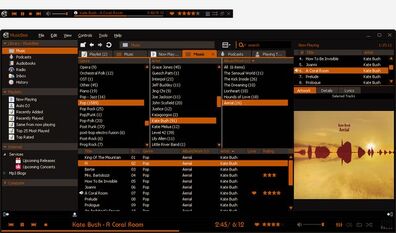
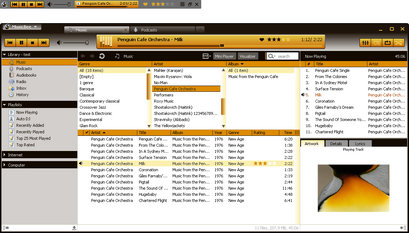
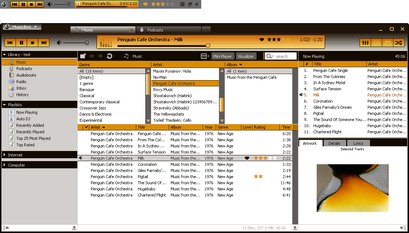
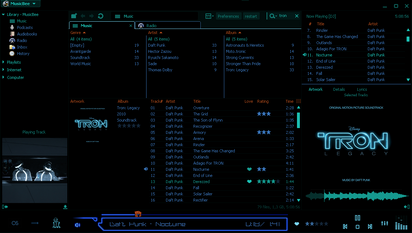
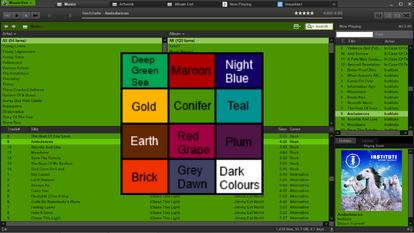
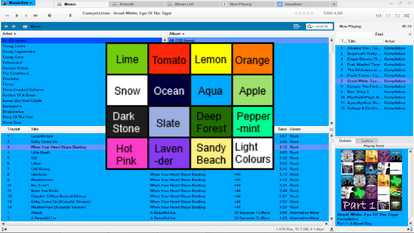
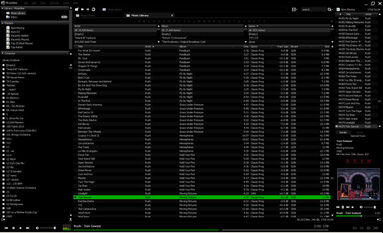
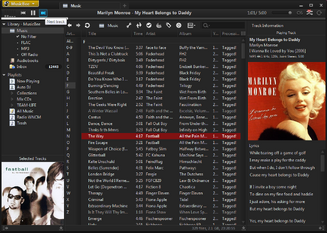
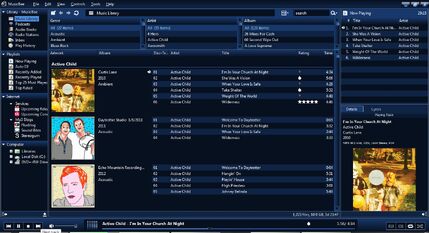
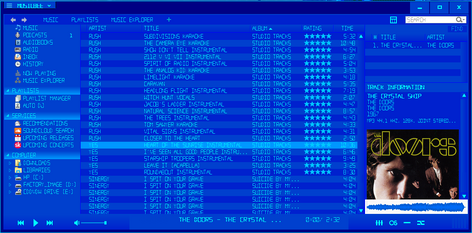
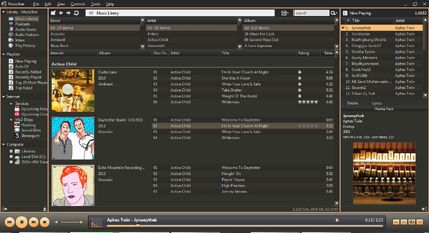
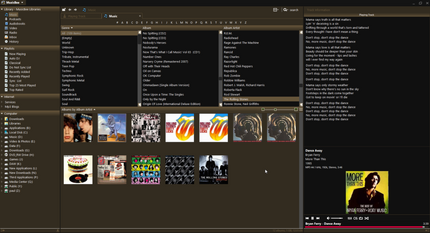
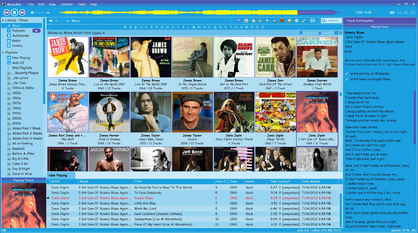
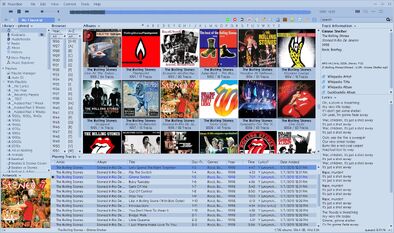
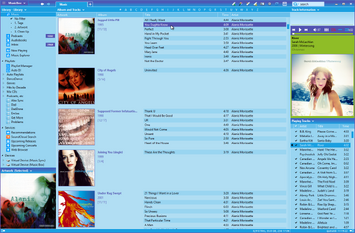
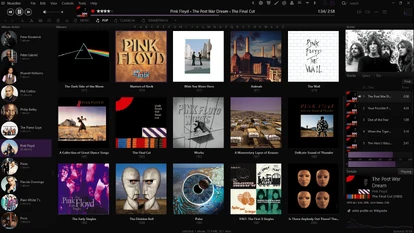
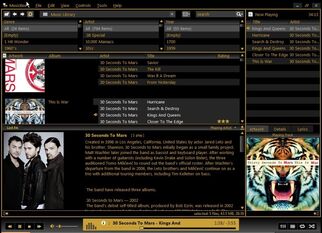
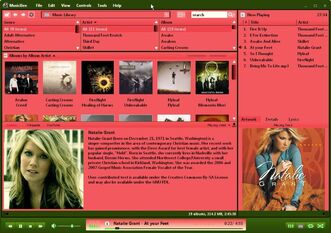
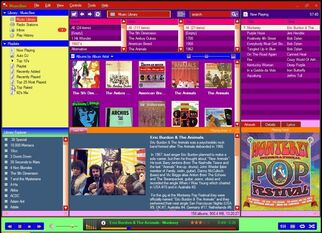
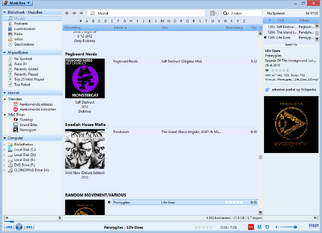
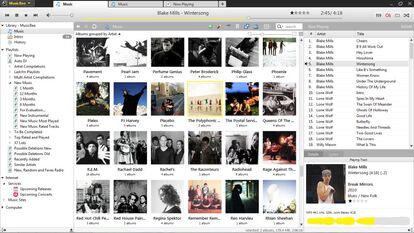
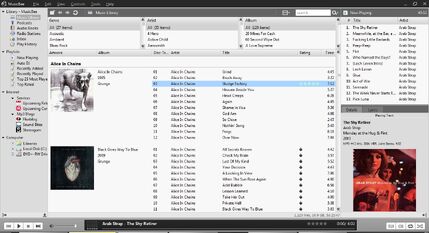
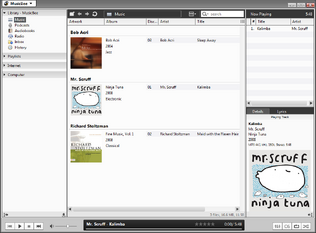
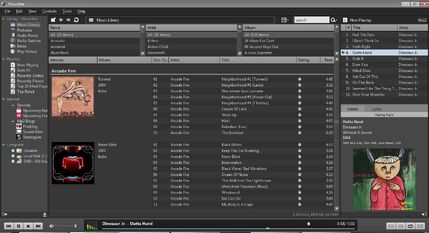
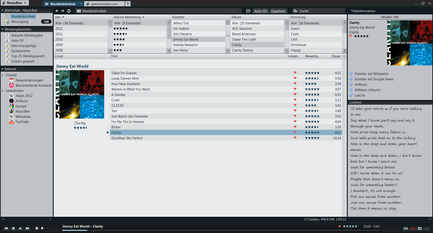
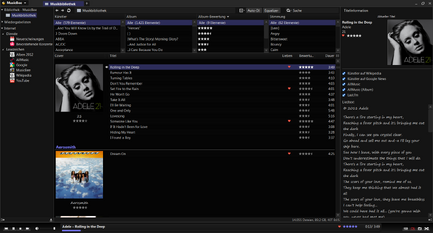
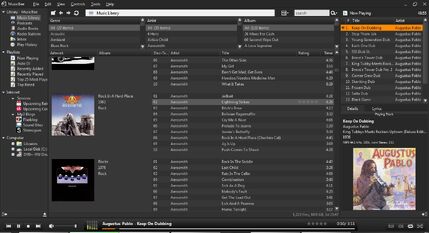
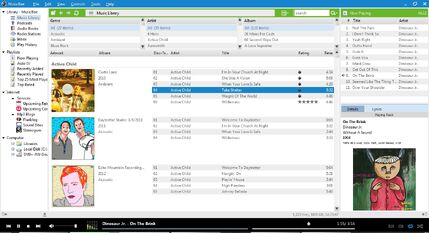
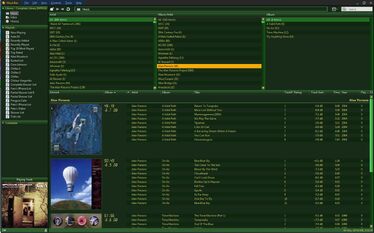
Installing a custom skin
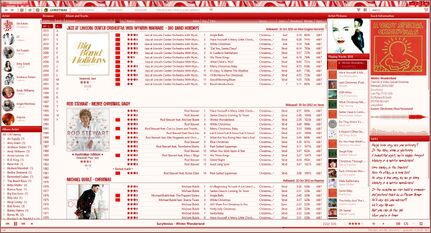
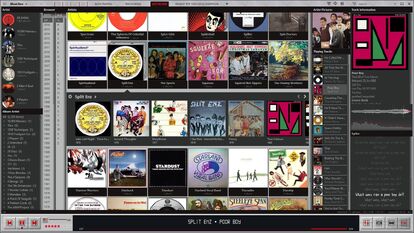
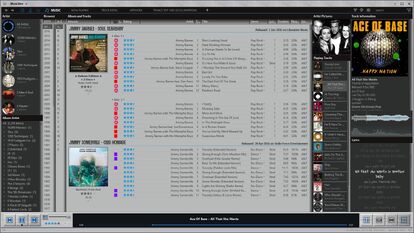
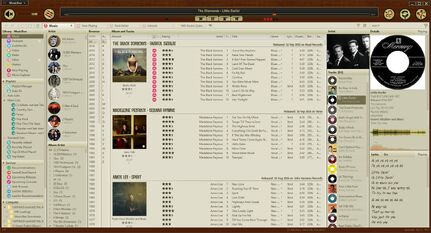
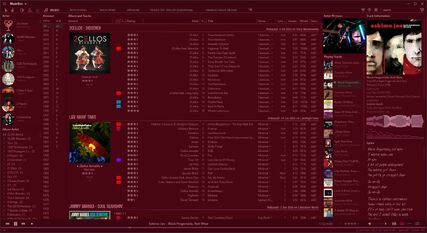
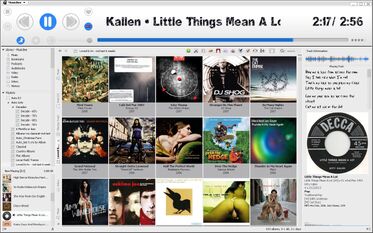
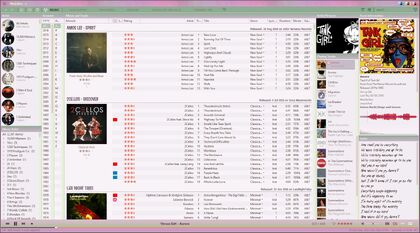
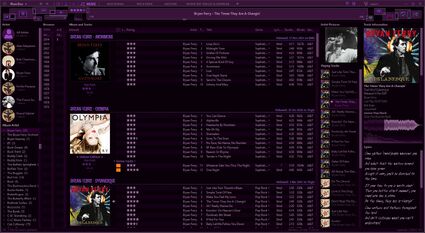
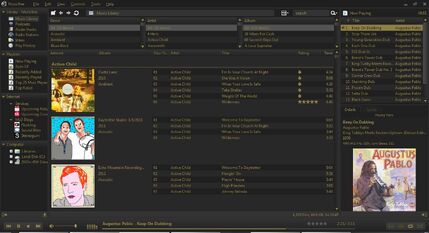
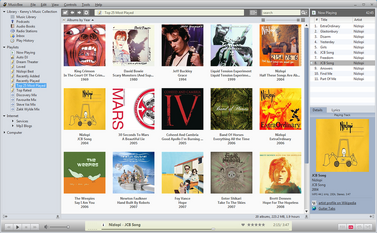
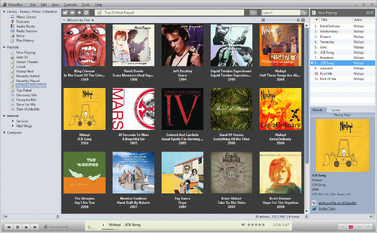
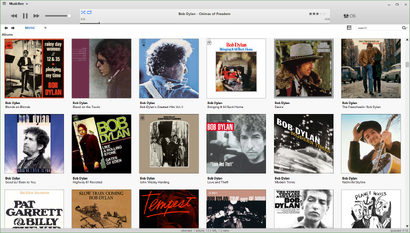
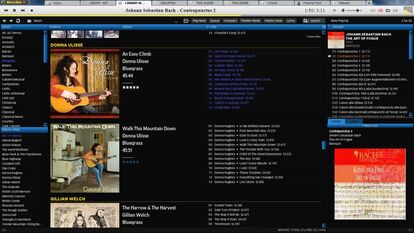
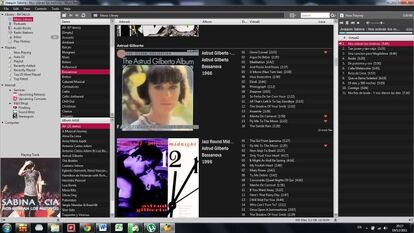
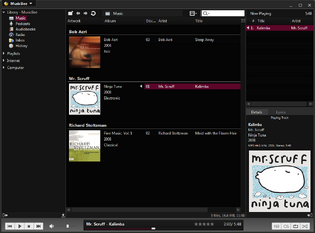
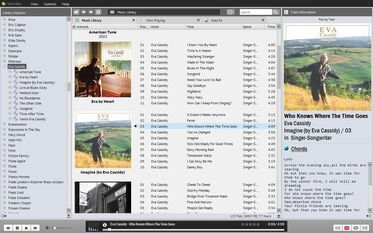
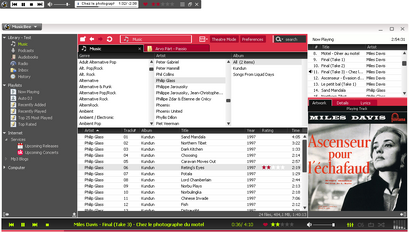
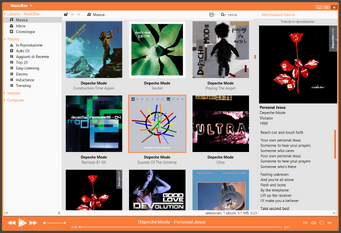
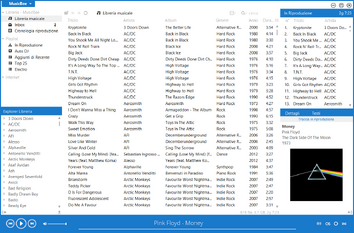
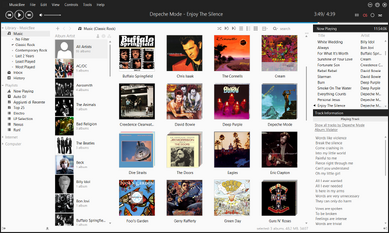
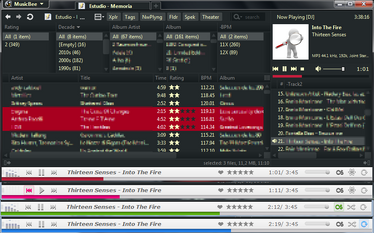
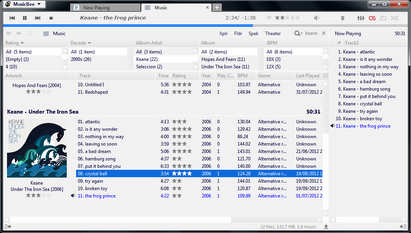
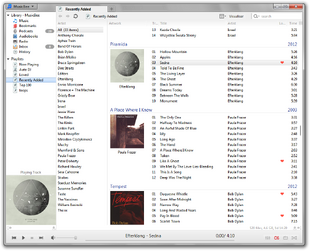
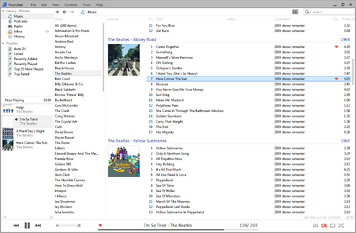
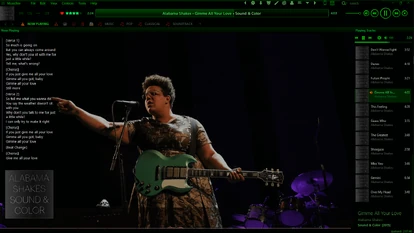
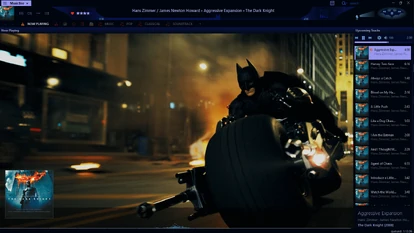
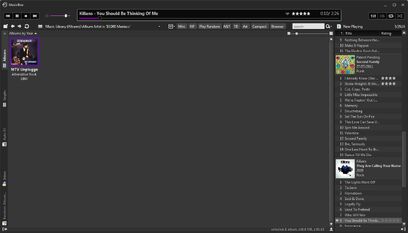
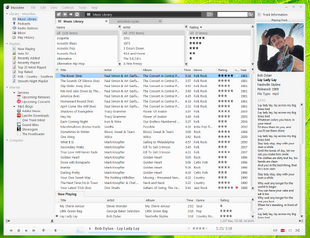
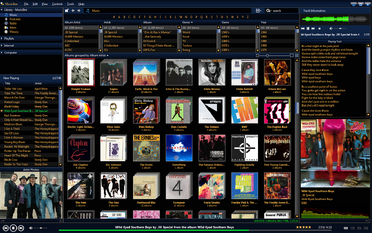
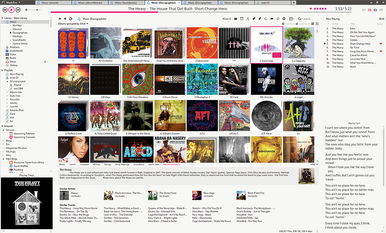
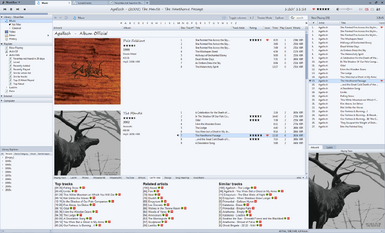
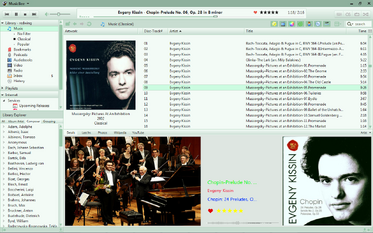
Original post by Bee-liever Installing any of the user-made skins is a quick and easy task. Simply follow the step-by-step instructions below to make use of the growing number of custom skins available on the forum.
- download the file
- extract the file
- Most files will be in .zip or .rar format. You need the .xml or .xmlc contained inside.[1] You can extract directly to your skins folder (see next step) or to your default download location.
- move .xml or .xmlc file to the 'Skins' folder
- The default installation folder for this is: C:\Program Files (x86)\MusicBee\Skins but you may have to adjust this for your set-up. You can copy-and-paste, drag-and-drop, or extract directly from the compressed file. Whatever you are most comfortable and proficient at.
- start (or restart) MusicBee
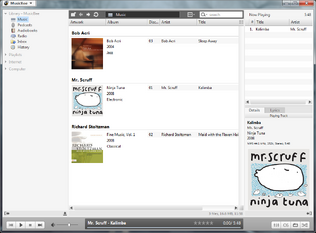
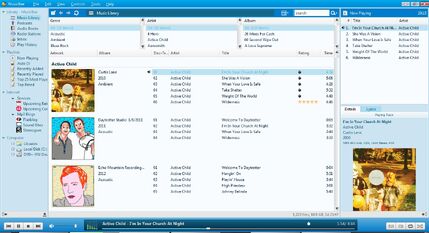
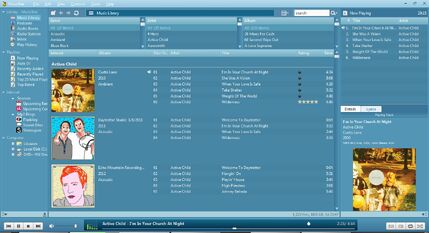
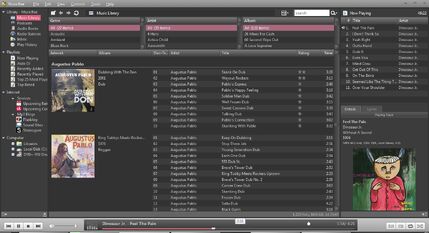
- select the new skin
- You can select the skin from either the Bee or drop-down menus. MusicBee will automatically restart to change to the new look.
- use the new skin
- Enjoy the same great MusicBee in a new range of colours and designs!
- Cautions
Some skins are created as a series (e.g. Tundra Series) and need to be installed as a complete set for them all to work. The downloaded compressed file (.zip or .rar) will contain a folder with the skins inside. Just place the entire folder inside your Skins folder, without separating them, and these skins will work correctly.
You can create sub-folders within the Skins folder to group the new skins in (e.g. \MusicBee\Skins\Custom) or you can place them in the existing folders (e.g. \MusicBee\Skins\Blue\Mellow Blue.xml) but you cannot put folders within the sub-folders (e.g. \MusicBee\Skins\Dark\MetroColours (Dark)\MetroDark.Cyan.xmlc)
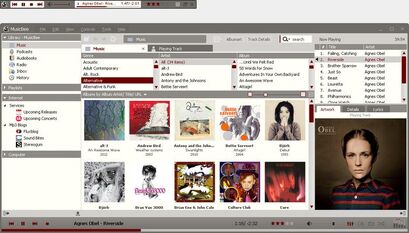
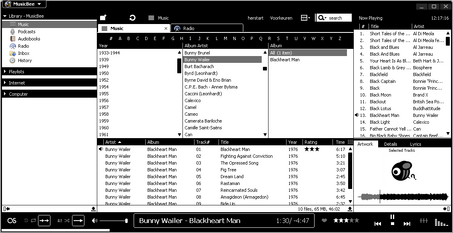
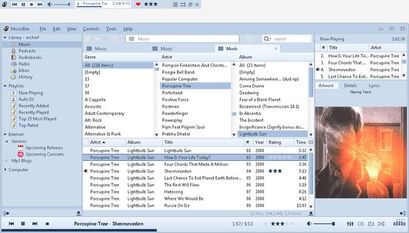
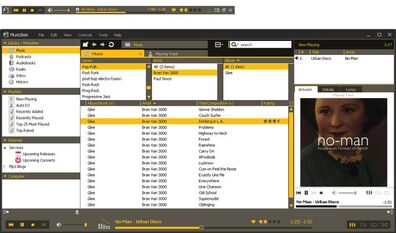
Skin creators usually work with the very latest beta version of MusicBee, as Steven makes changes that accommodate their many and varied requests, to bring new looks to the Bee. If your installation of the skin does not match the screenshot, please check the version you are using against the version the skin was created on (usually listed in the post for the skin). If you are still having problems, make a post in the forum or contact the author of the skin, for further help and information.
- ↑ There are a few skins that the download is directly in .xml form. Simply place these directly in the Skins folder and follow the guide from that point onward.
All Skins by Author
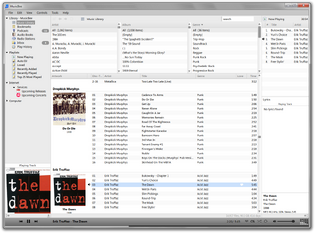
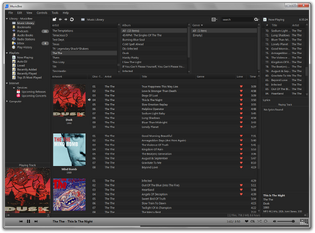
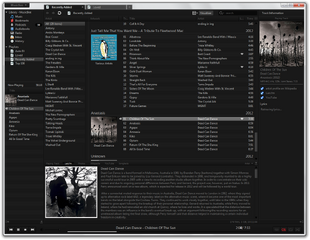
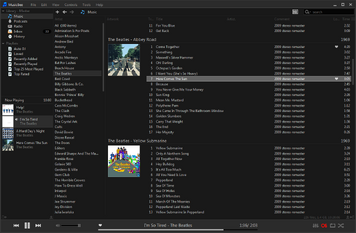
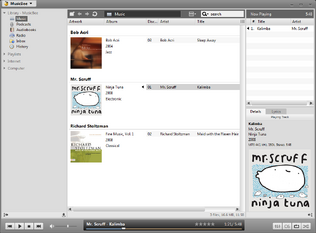
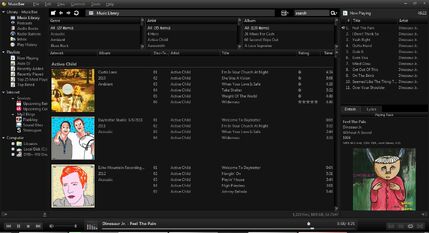
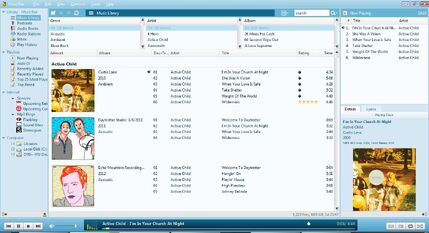
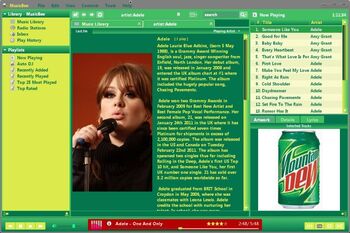
Click on any preview to get a bigger picture and download info. If you find a broken download link, check to see if the forum thread has an update. Please fix it if there is one!
Not all skins may be up-to-date with the latest skinning and layout elements. If you find a skin you like that has a problem, first check the forum to make sure you have the latest version of the skin and of MusicBee. If that doesn't help, ask for what you want on the forum. It's often a matter of adding or adjusting just a few lines in the file.
Alexis
Alumni
Analien
Bee-liever
beistrich
Blinghound
cartman005
colagen
dannyboiii
EDI
Endeavour1934
EnduringGuerila
Greb
hiccup
iasc
jistme
If any download links are broken, all of jistme's skins are archived here.
JMoss
jpe123bee
KylePolansky
lnminente
mikebo
OrB
OliverOyanadel
pab_men
PaulRWebster
Monkey Skin - Download here.
phred
Psychoadept
redwing
Richardap1
Rotem K.
Sarge
If any of the download links are broken, most of Sarge's skins are available here.
Silasje1
SimonBRT
Steven
stopbrickwalling
Thorbjorn
Underneath
V4lve
Vinyl Wiper
Updating this page
Note: to upload a screenshot, you will need a user account. If you prefer not to create an account, contact Psychoadept for help.
Adding an Author
- Copy the code below
- Edit the section of the page just above or below where you want the new author (please use alphabetical order)
- Paste the code where you want the section to be
- Replace the <!-- --> brackets with your own text
- Click "Publish"
=== <!-- Author's Name --> ===

<gallery widths="310" orientation="landscape" captionposition="within" captionalign="center" captionsize="large">
<!-- Skin info as in Method 2 below -->
</gallery>
Adding a Skin
- Method 1
- Use the "Add a photo to this gallery" button for the author's section
- Use the wizard to upload a screenshot, add a caption, and create a link to the screenshot's page (the link should be in the form File:My Skin.png).
- Put the skin in alphabetical order (this may require temporarily reducing the thumbnail size)
- Click "Finish"
- Method 2
- Copy the code below
- Edit the author's section of the page
- Paste the code on a new line in the list of skins (putting the skin in alphabetical order)
- Replace the brackets with your own details
- Click "Publish"
<!-- Name of image, i.e. My Skin.png -->|<!-- Name of skin as you want it to appear on the page -->|link=File:<!-- Name of image again -->
- Then...
- Copy this template
- Click on the new gallery entry to go to the image page
- If you used Method 2 and have not uploaded a screenshot, the entry will be blank and you'll be taken to the upload page first.
- Edit the image page and paste this template
- Replace the brackets with your own details
- Click "Publish"
{{Skinfobox
|Name = <!-- Name of skin -->
|Author = <!-- Author of skin -->
|Thread = <!-- URL of forum thread (optional) -->
|Download = <!-- URL for direct download (optional) -->
|Description = <!-- Description of skin (optional) -->
}}
Updating a Skin
- Navigate to the image page.
- Updating the image: click the arrow next to the Edit button and choose "Replace."
- Updating the link or description: edit the page and correct the details in the template.

